


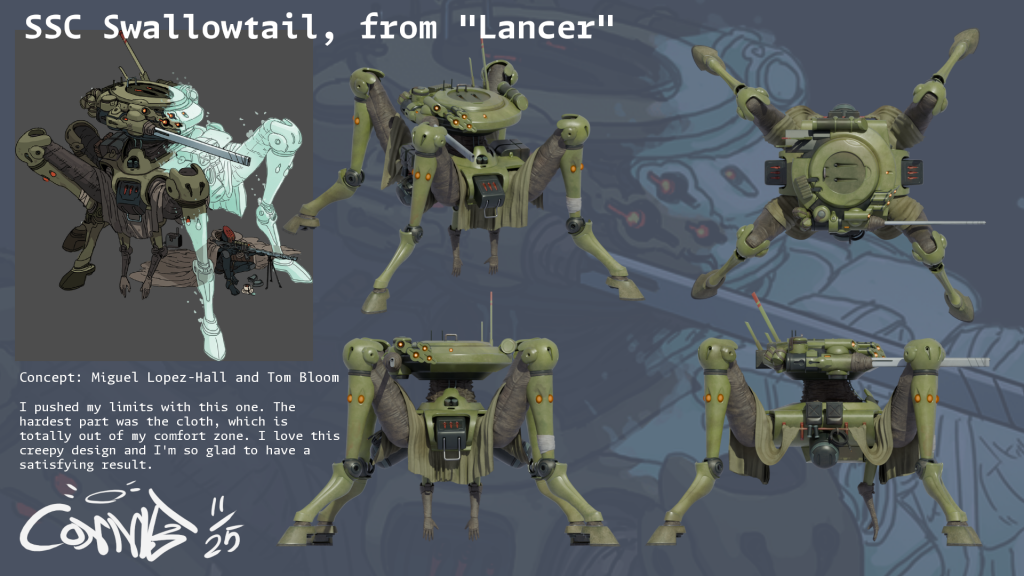
its finished!!! man i always hate the last 10% but the result is so satisfying. i learned a lot with this project so i wanted to talk about it a little. =^w^=
first off, the cloth
there were several parts of this model like the legs, arms, the wrap around the gun barrel, and the ‘neck’ which were made of soft materials. this is the sort of thing that doesn’t usually fall within the purview of ‘hard surface modelling’ so i think its a sore spot for myself and many other hard surface enthusiasts.
there were a few methods i could have used to create the cloth folds, like sculpting, a procedural shader, or a displacement map. after a few hours of trying stuff out making a displacement map in substance painter was the way to go.
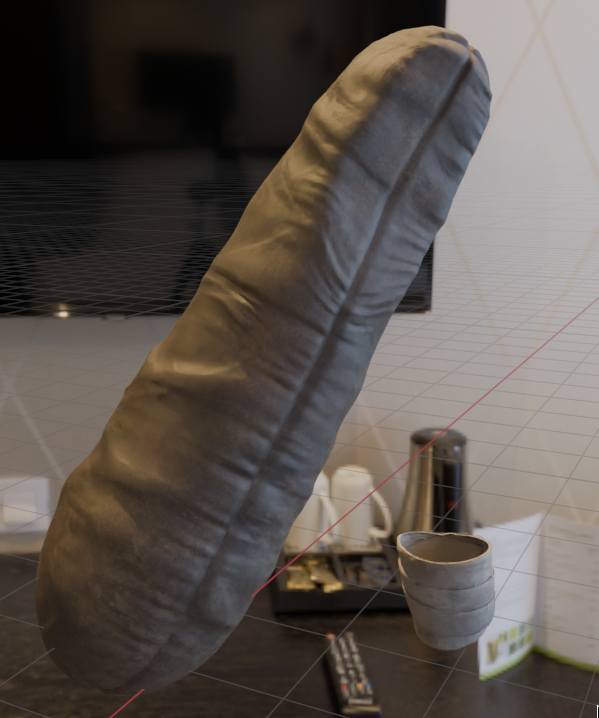
i painted my displacement (height) map with a few layers:
- the pinches, where the cloth is drawn in and stretched around the seams. this is literally just perlin noise scaled to like 0.0001 along the y axis.
- the big folds, which are hand-painted. you can get some nice fabric folds by drawing lines and then erasing loosely around their edges.
- the non-aligned folds, which travel in whatever direction they like. these are just a texture i bought from artstation.
- the seams, where the heightmap approaches a value of 0, and all the previous layers are overwritten.
pretty happy with the results. i was going to rig the loincloth looking thing, but it was so annoying that i decided to just manually adjust the mesh for each render (see below). these adjustments take about 3 minutes per render. very cheap, but this means the mesh can’t readily be used for animations. this is the sort of scope reduction that really really helps for intense long-term projects like this!!

scene setup!
at first i was going to pose the swallowtail inside a 3d scene of a forest, like this one i downloaded from polyhaven. however, for a raytraced render this multiplies the render time by like 300x. i’ve seen people say render time doesn’t matter outside of games since you only have to do it once, but honestly that’s missing context.
a lot of scene setup is about adjusting the lighting, rendering, moving this thing just a smidge to the left, rendering, changing the focal length, rendering.. lots of tiny adjustments, and that render time becomes REALLY frustrating, so it’s important for me to be able to render quickly, almost realtime. then, for the final render, you can crank the settings and let it rip.
with all that said, i instead decided to pick up some royalty free nature photographs and do my first VFX superimposition.

setting up shadow catchers and lighting…
masking in the foreground…
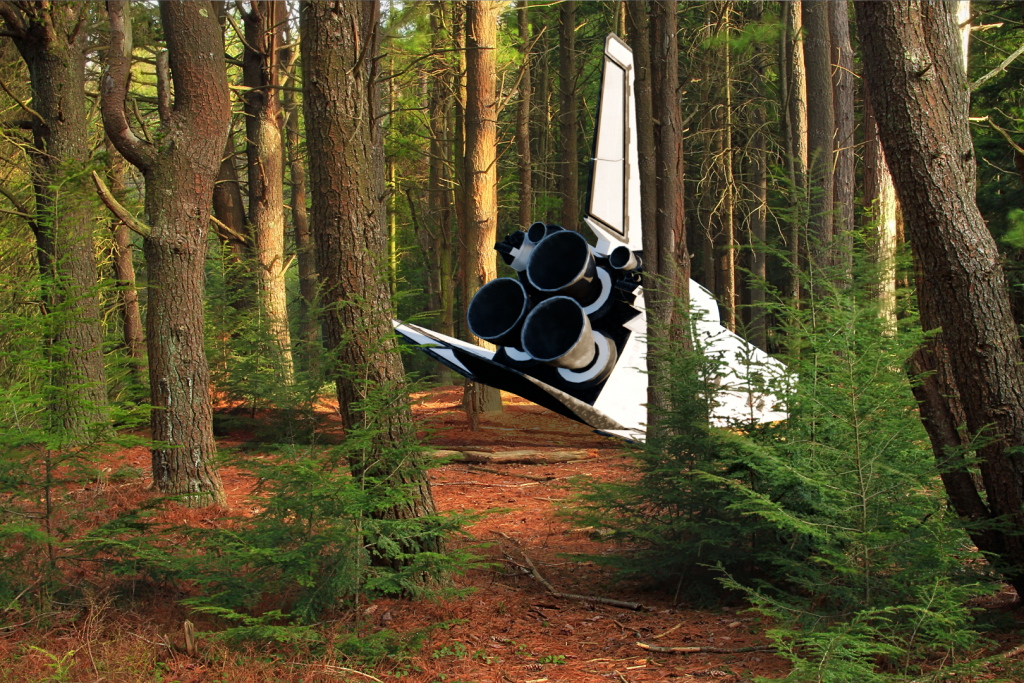
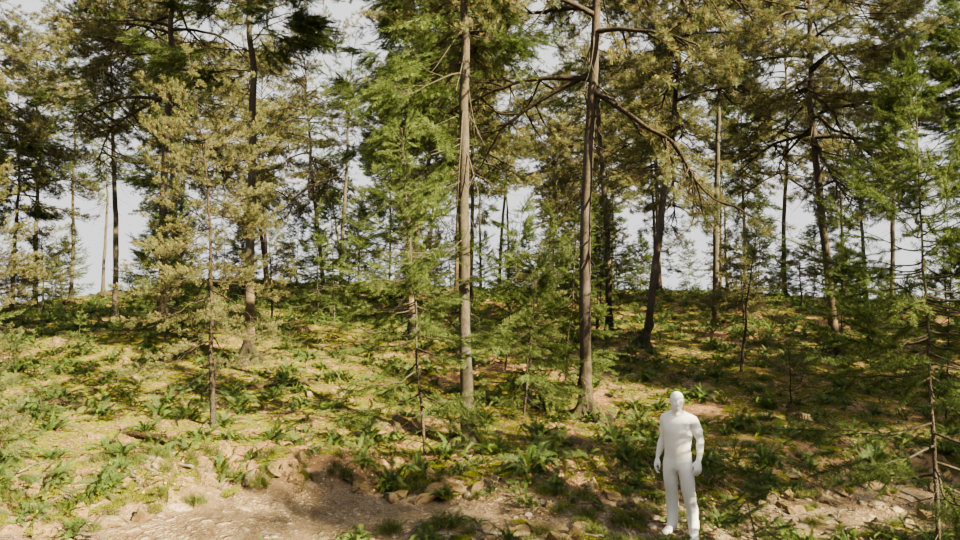
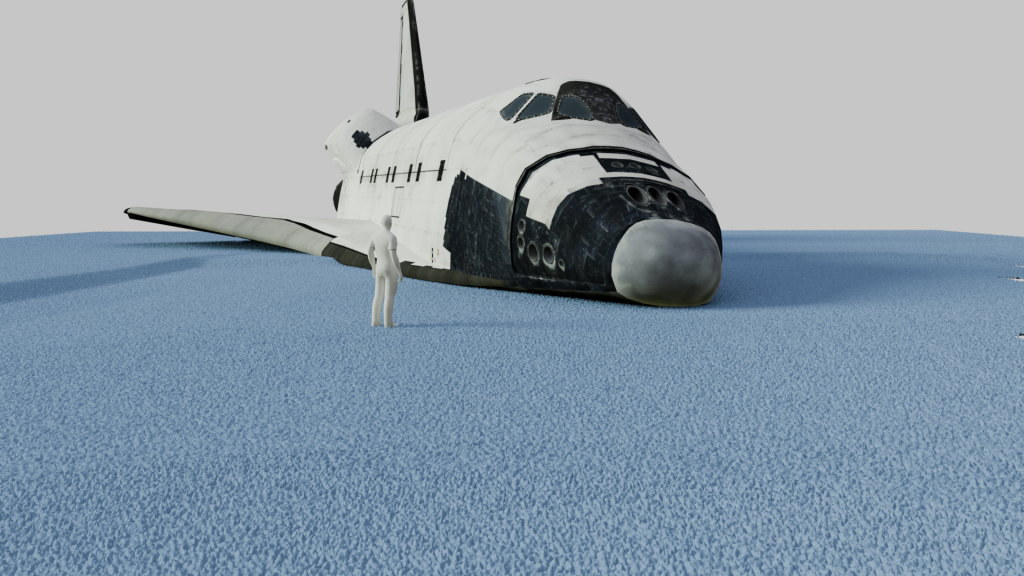
using a more realistic model to get a good reference…
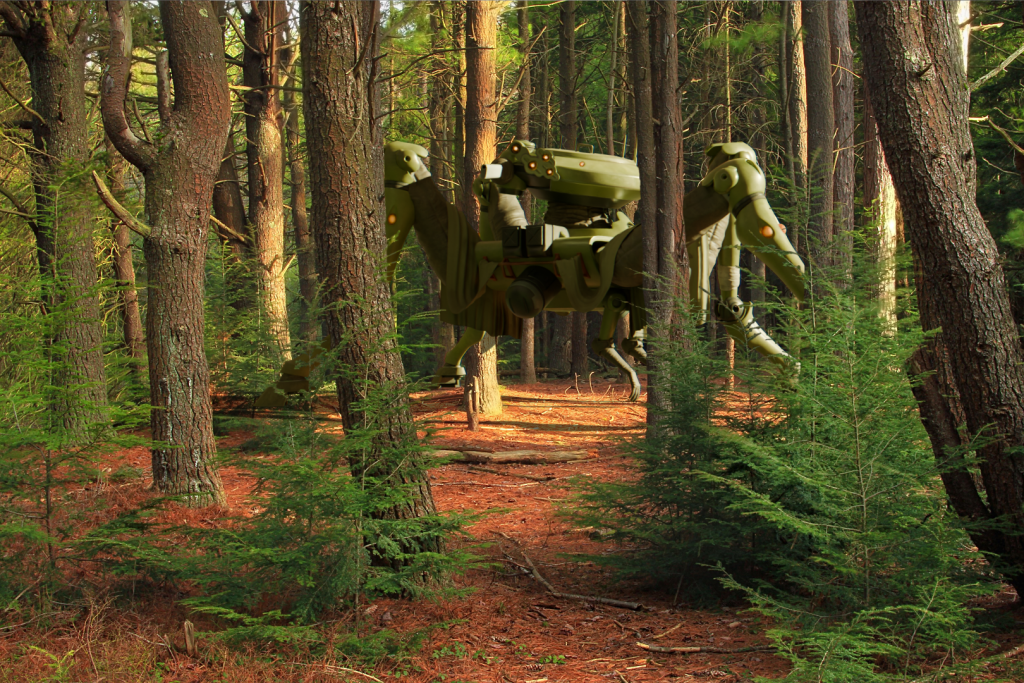
render…

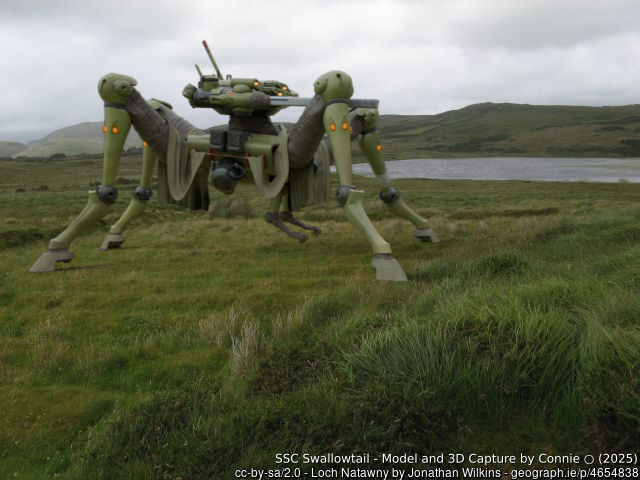
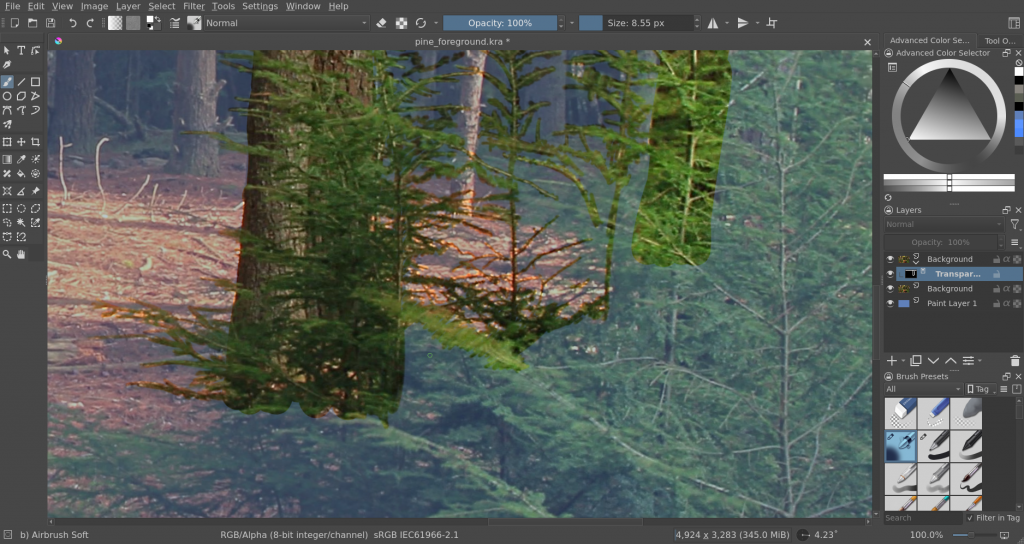
manual fixes in Krita and she’s done! this photo was cc0, so no credit required.. let’s try it again with a different background, from geograph.
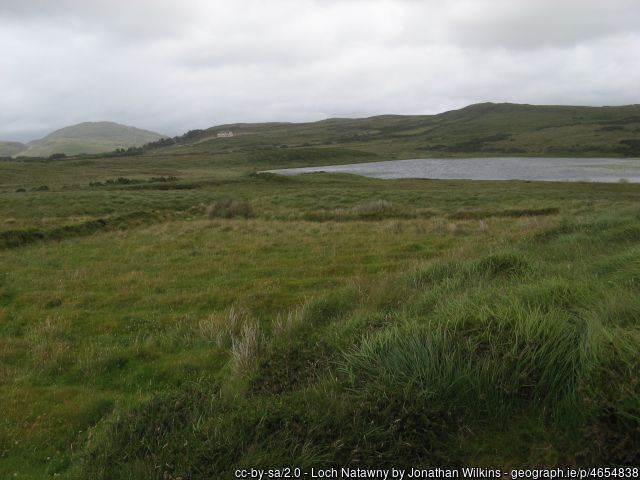
thanks, Jon Wilkins! let’s set up a shadow catcher, this time we’ll make it bumpy to represent the grass.
looking good. we can set the sun’s angular size to like 60 degrees to represent the overcast lighting.

now we’ve composited everything…
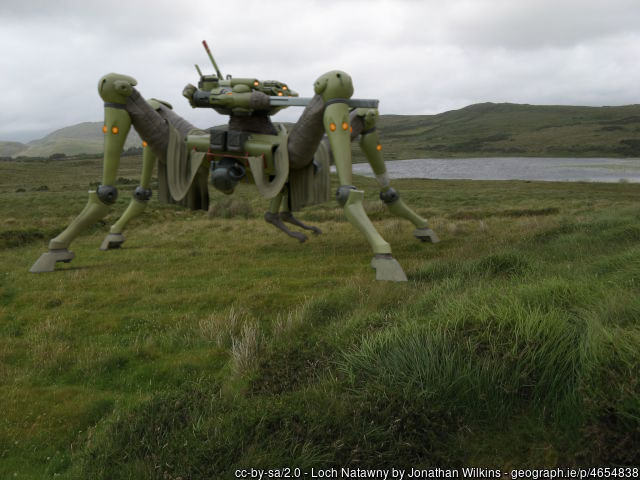
render, and this time we don’t need manual adjustments. swell! to be honest, the forest shot looks better to me. it might be the high-contrast lighting that lends some credibility to the other render, whereas here in the irish(?) highlands EVERYTHING is very softly lit. oh well!
i think that’s about everything. i could talk about the color space setup i worked with, but then we’d both die from boredom. i guess i’ll just mention that i used the AgX tonemapper for this project to give realistic results. thanks for stopping by! im off to go start my next project now o’w’o


Leave a Reply